Last Updated on May 7, 2020
Gardening with wood chips has many benefits. If you aren’t utilizing wood chips in your garden, I want to show you how to start a wood chip vegetable garden that will make gardening way easier for you.
What Are the Benefits of Wood Chip Gardening?
Wood chip gardening offers many benefits. The wood chips help keep water in the soil by preventing it from evaporating as fast as it normally would.
Wood chips also help suppress weeds by creating a ground cover.
And finally, as the wood chips break down, they organically fertilize your garden for free.
These benefits make wood chip gardening great for growing vegetables.
When Should I Start My Wood Chip Vegetable Garden?
Because wood chips take time to break down, wood chip gardens are usually more productive after their first year but don’t let that discourage you from building one now. You can also build them in the fall in preparation for the following year.
With that being said, here’s how we started our wood chip garden from scratch.
Where Can I Get Free Wood Chips?
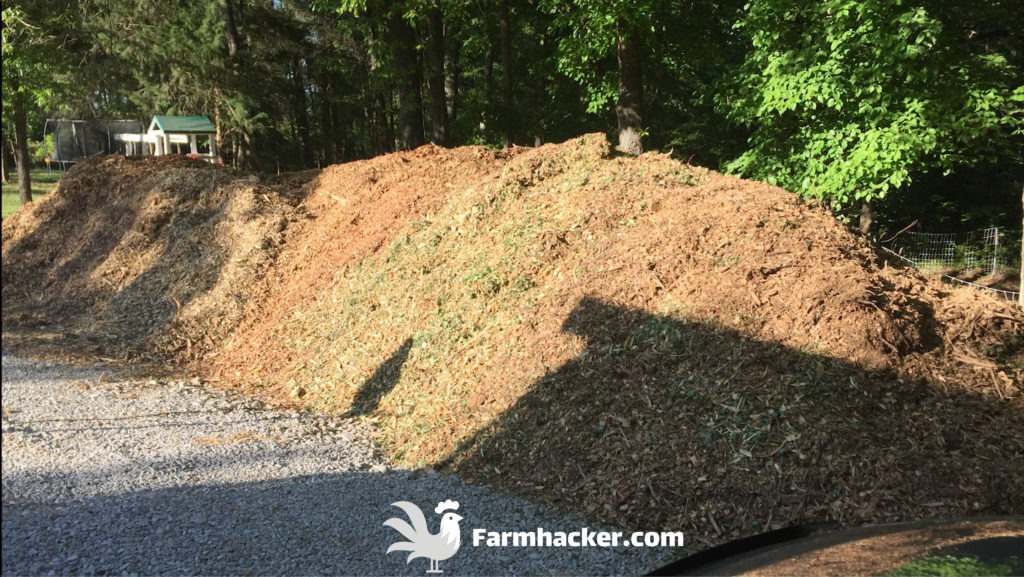
The first step was making sure we could get wood chips for free. Lots of tree removal and tree trimming services need a place to dump their wood chips so we were able to find one that dumped theirs at our farm.
If you need wood chips, call all of your local tree removal and tree trimming services and ask them if they are looking for a place to dump their wood chips.
You can also sign up on a website called getchipdrop.com to let tree trimming services know that you will take their wood chips.
How Do I Prepare The Garden Area?
After we had our wood chips, we did a few things to prepare the garden area.
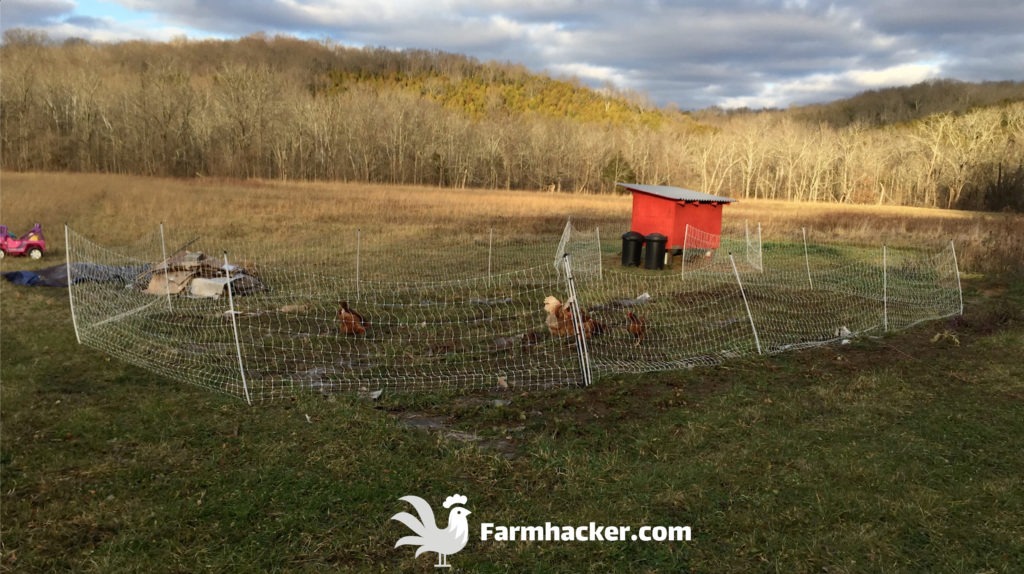
The first thing we did was put our chickens in the future garden area for about a month so they would fertilize the soil for us.
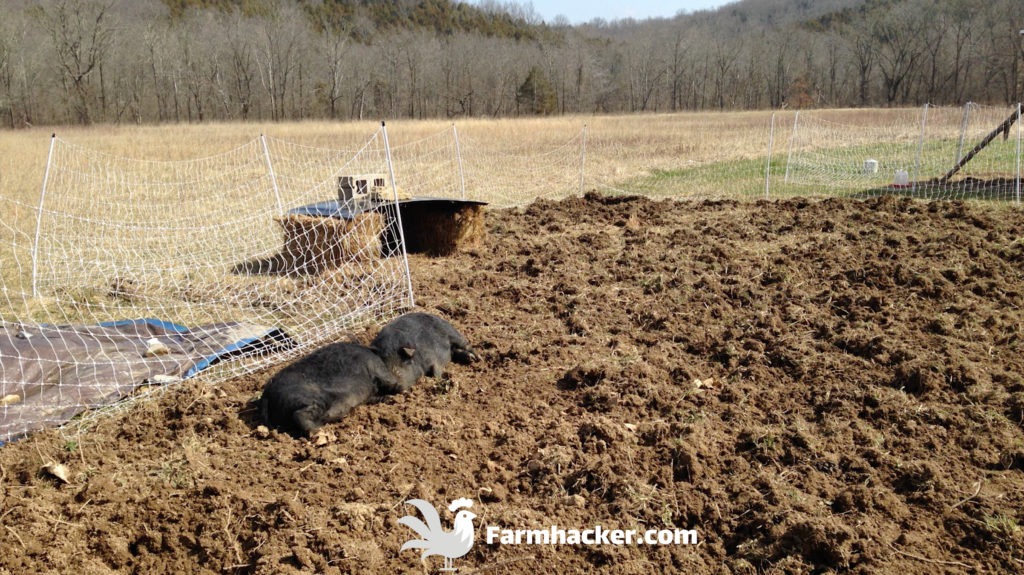
After that, we put our pigs in the future garden area and let them till it up for us. This is the equivalent of amending your soil with fertilizer and tilling it in using a tiller.
Neither of these steps are required but we did this to help jumpstart our soil.
Step 1: Cover the Soil With Cardboard or Newspaper
First, we covered the soil with cardboard to help kill off any weeds that might have gotten left behind.
The cardboard will eventually break down and turn into soil. This is a pretty important step in my opinion, especially if you don’t till the soil first.
You can also use non glossy newspaper if you don’t have cardboard.
Optional: Cover the Cardboard With Manure, Compost, or Other Amendments
Next, we covered the cardboard with manure and compost. If you don’t have manure and compost, don’t worry. Just skip this step.
Again, this was just to help give our soil a jumpstart.
Step 2: Cover Entire Garden With Wood Chips
After this, we covered the entire area with wood chips.
I highly recommend adding more wood chips than you think you’ll need. As they start settling in and breaking down, they will be a lot thinner than they were when you first put them on.
Step 3: Spray the Entire Garden With Water and Wait a Day
Finally, we sprayed the entire garden area with water and let it sit for about a day.
After that, we were ready to start planting.
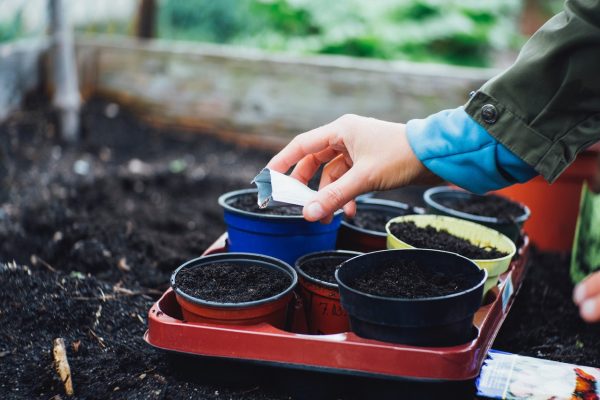
Step 4: Pull the Woo Chips Away, Rip a Hole in the Cardboard, and Plant Seeds
When you are ready to plant, simply pull the wood chips away from the area you’re going to plant in. You’ll have to rip a hole in the cardboard or newspaper underneath until it breaks down.
Maintenance: Add a Fresh Layer of Wood Chips Each Year or Throughout the Year If Needed
To maintain your garden, just add a fresh layer of wood chips every year. When weeds pop up, simply pull them out and toss them aside.
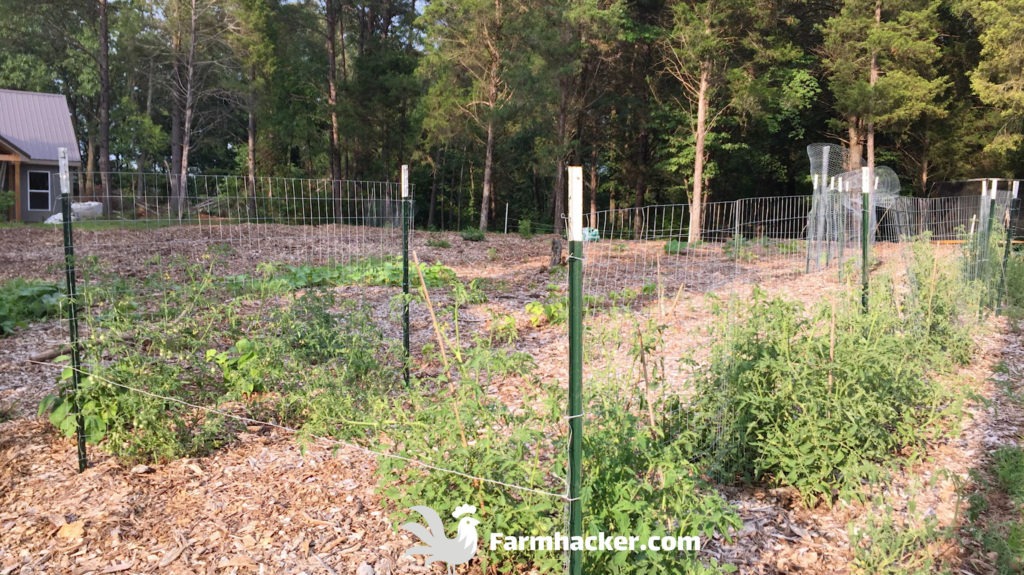
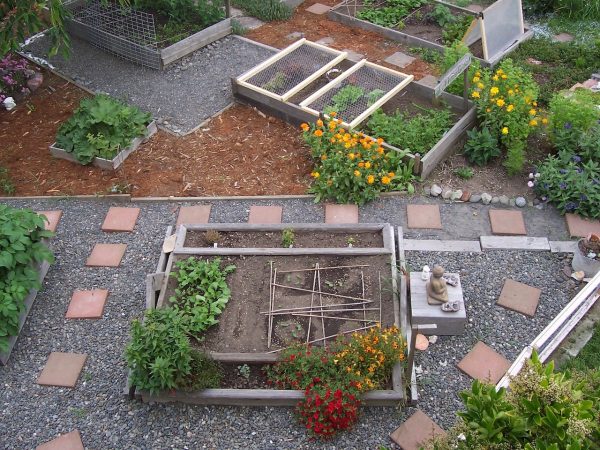
Here is a picture of a completed wood chip vegetable garden so you can see what it looks like when it’s finished.
The Video
Conclusion
And that’s it. This is a simple way to start a wood chip garden from scratch. If you have any questions, let me know in the comments.


